Don't miss our holiday offer - 20% OFF!
How to Install a BRC Mesh Fence Step-by-Step

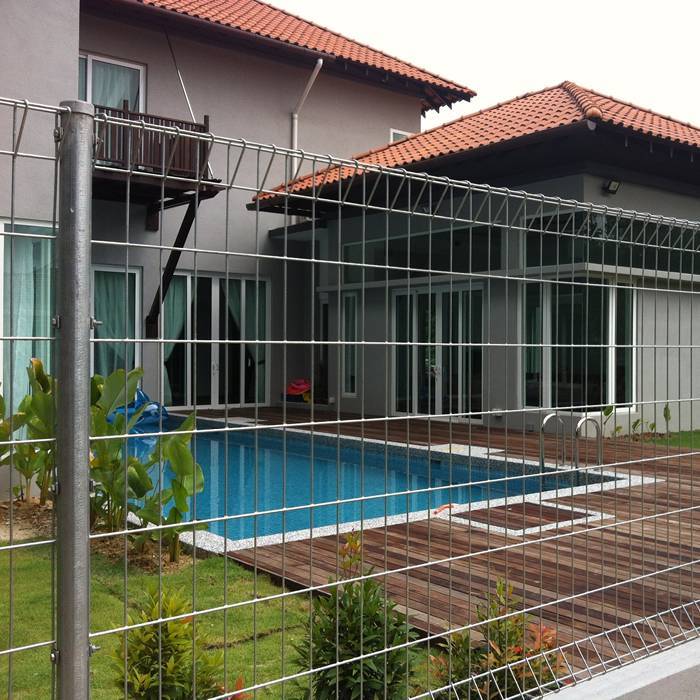
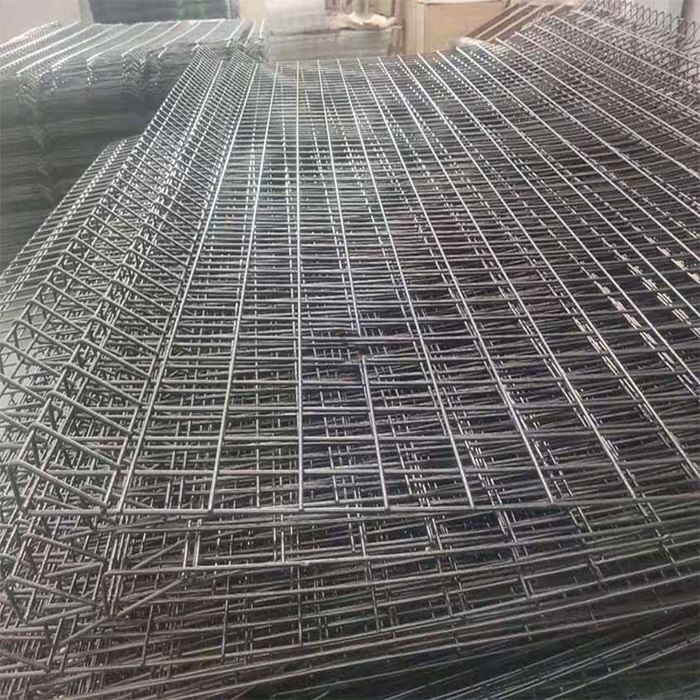
BRC fence, also known as roll top fence, is a kind of specially designed welded wire mesh fence with unique top and bottom “rolled” edges. It is manufactured from high tensile steel wires that are welded together and bent to form a triangular roll top surface at its top and bottom to provide a firm structure and accurate mesh openings. Its rolled edges not only offer an authentic user-friendly surface, but also give maximum rigidity and excellent visibility. Currently, it is very popular among Singapore, Japan, South Korea and Southeast Asia regions and is mainly used as security fence or barriers in, including but not limited to, parks, schools, playgrounds, factories, parking lots, residential communities, etc.
Installing a BRC mesh fence can seem challenging, but with the right tools and knowledge, you can complete the installation yourself. Here’s a step-by-step guide for DIY enthusiasts:
BRC Mesh Fence Installation Guide: Step-by-Step for DIY Enthusiasts
Step 1: Plan and Prepare
Before starting the installation, planning and preparation are essential. This includes measuring the area for the fence, determining the layout, and marking the positions for fence posts.
Step 2: Install the Fence Posts
Once the post locations are marked, you can begin installation. First, dig a hole deep enough to support each post. Place the post in the hole and fill it with concrete to secure it in place.

BRC Mesh Fence Installation Guide: Step-by-Step for DIY Enthusiasts
Step 3: Install the Bottom Rail
Once the posts are securely set in concrete, you can install the bottom rail. The bottom rail is usually attached to the posts with brackets. Use a level to ensure the rail is straight and level.
Step 4: Attach the Mesh Panels
With the bottom rail in place, it’s time to attach the mesh panels. Start at one end of the fence, securing the mesh panel to the first post with cable ties. Continue attaching the panel to the remaining posts, ensuring it fits tightly across the frame.
BRC Mesh Fence Installation Guide: Step-by-Step for DIY Enthusiasts
Step 5: Install the Top Rail
With the mesh panels in place, install the top rail. The top rail attaches to the posts with brackets, just like the bottom rail. Use a level to make sure it is straight and aligned.
Step 6: Secure the Fence
Once the top rail is in place, secure the fence by adding additional cable ties to the mesh panels to ensure they’re firmly attached to the frame.
BRC Mesh Fence Installation Guide: Step-by-Step for DIY Enthusiasts
Final Step: Complete the Installation
Finally, once the fence is secure, complete the installation by checking for any loose wires or connections and making any necessary adjustments. You can also apply a coat of paint or finish to enhance the fence’s appearance and protect it from harsh weather conditions.
